Mission Coffee Table
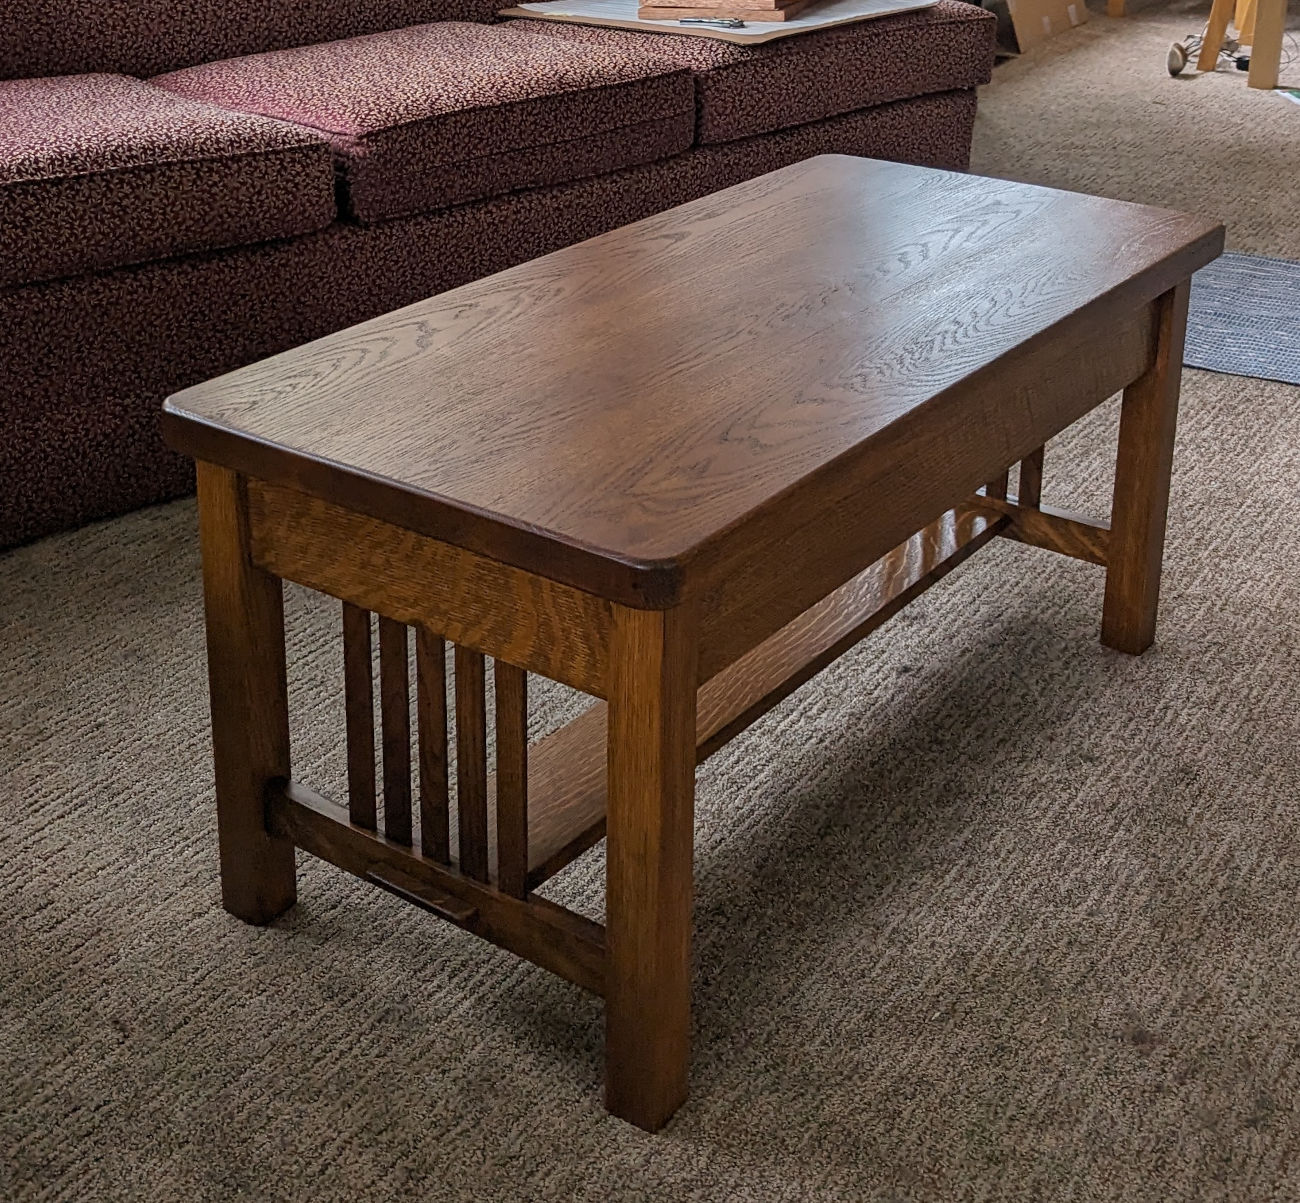
This was definitely my most ambitious project up to this point. I wanted to build myself a strong, functional, beautiful coffee table. Sticking to the mission style, I looked through a number of books but didn’t find anything that was too close to what I was wanting in terms of a coffee table. So I actually took design inspiration from this piano bench plan.
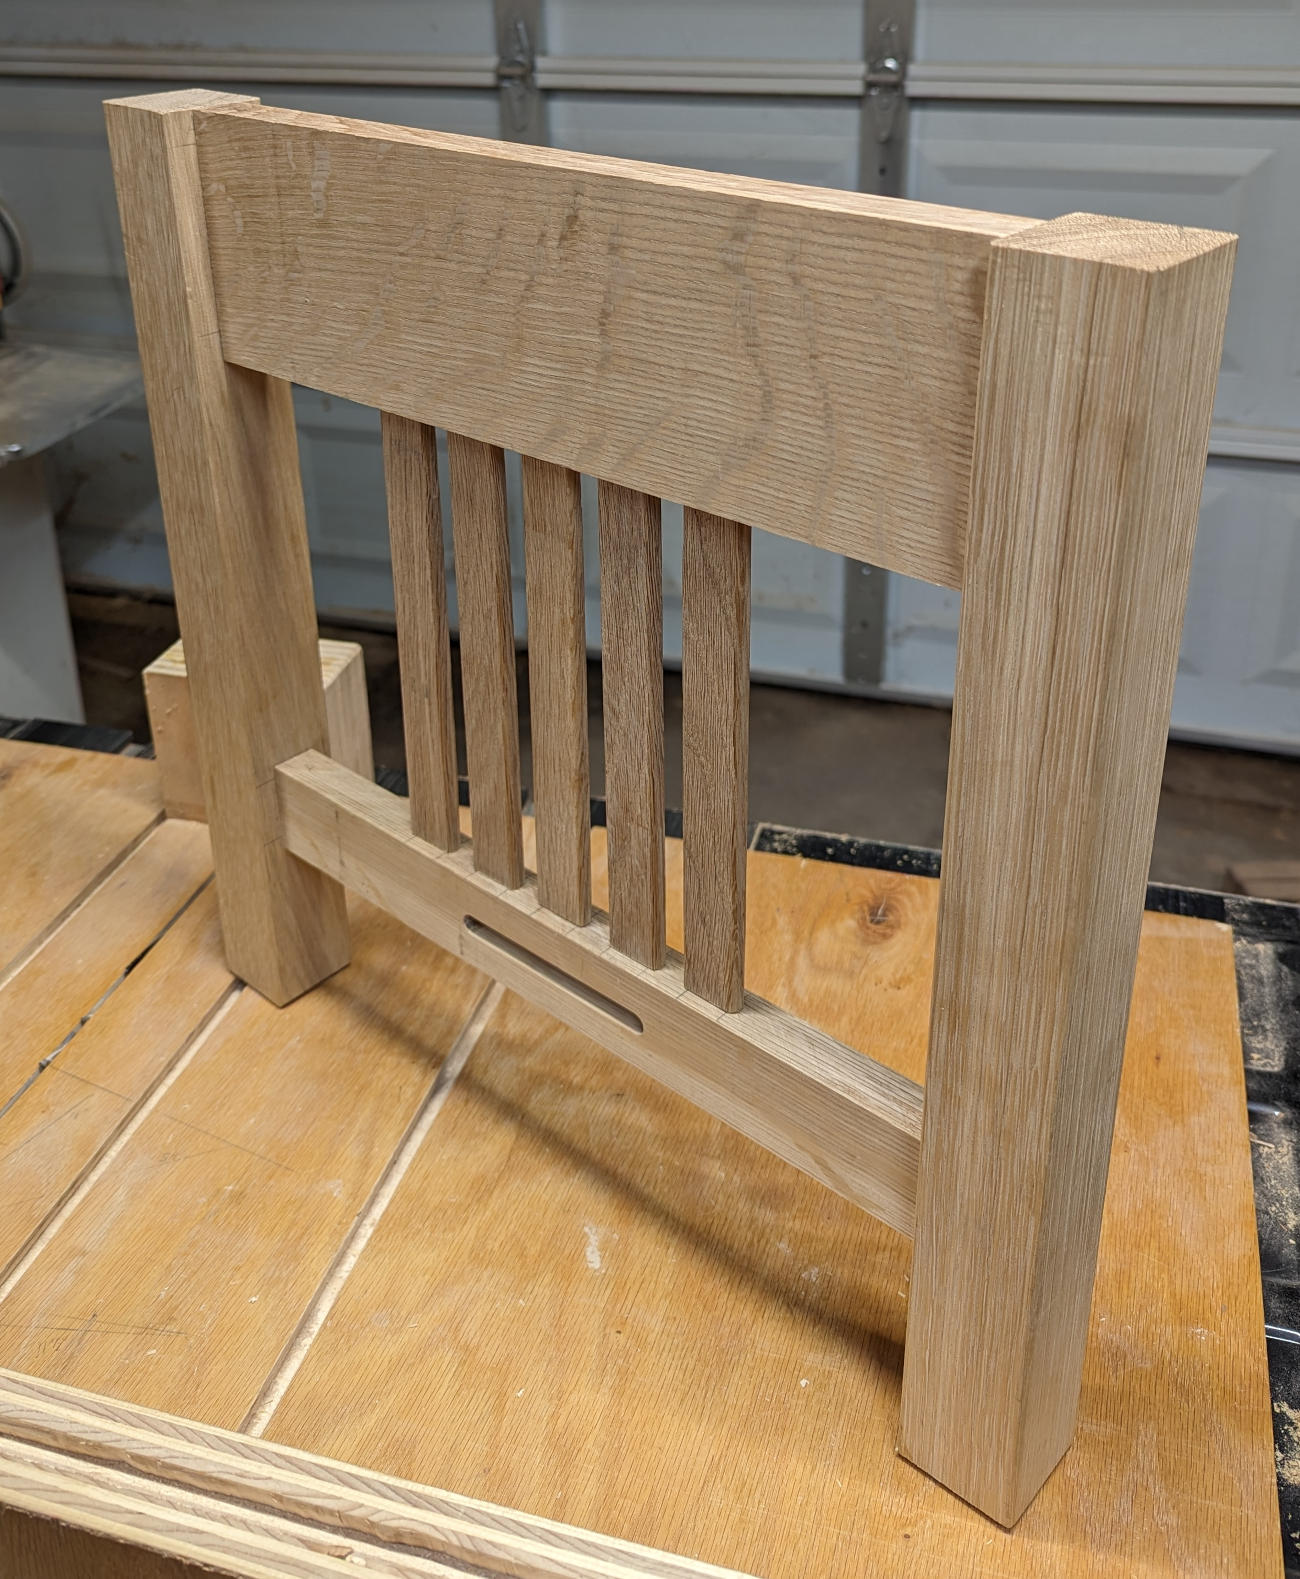
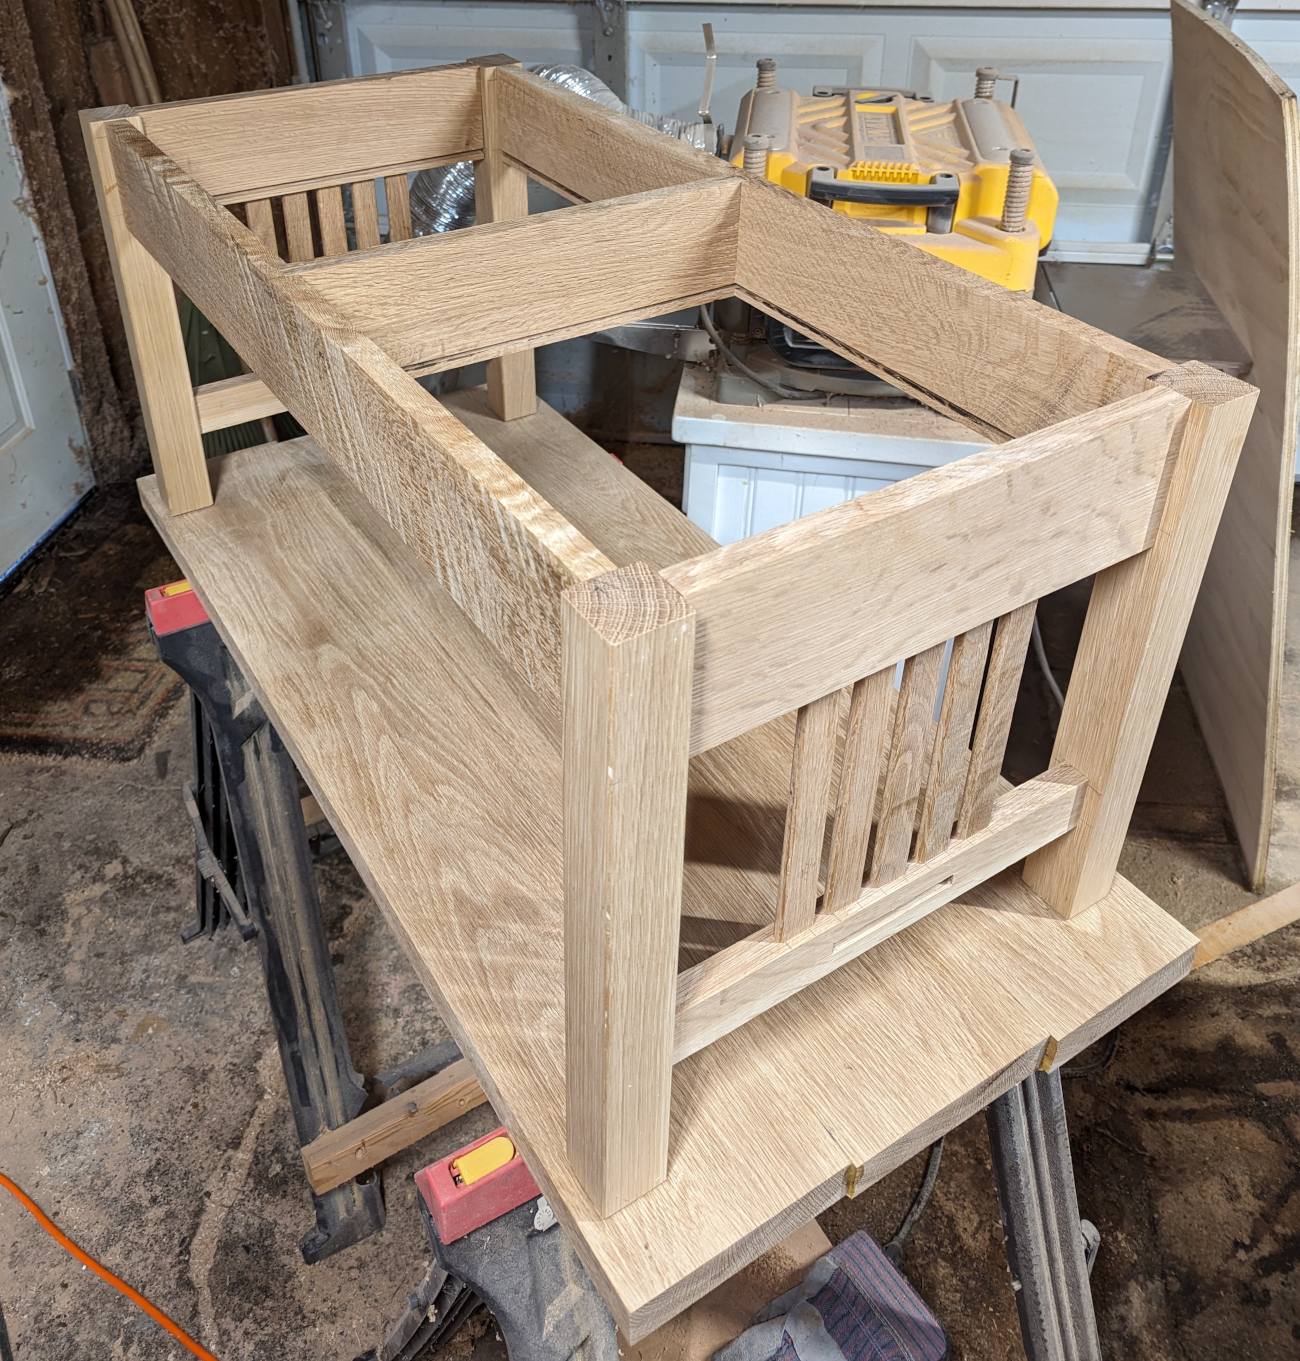
I iterated on this design in CAD and ended up at the design shown below. Beyond the basic scale changes I decided to increase the number of slats from 3 to 5, keeping with the odd count. I wanted to make the bottom stretcher/shelf more of a feature so I decided to change from a blind tenon to a through tenon.
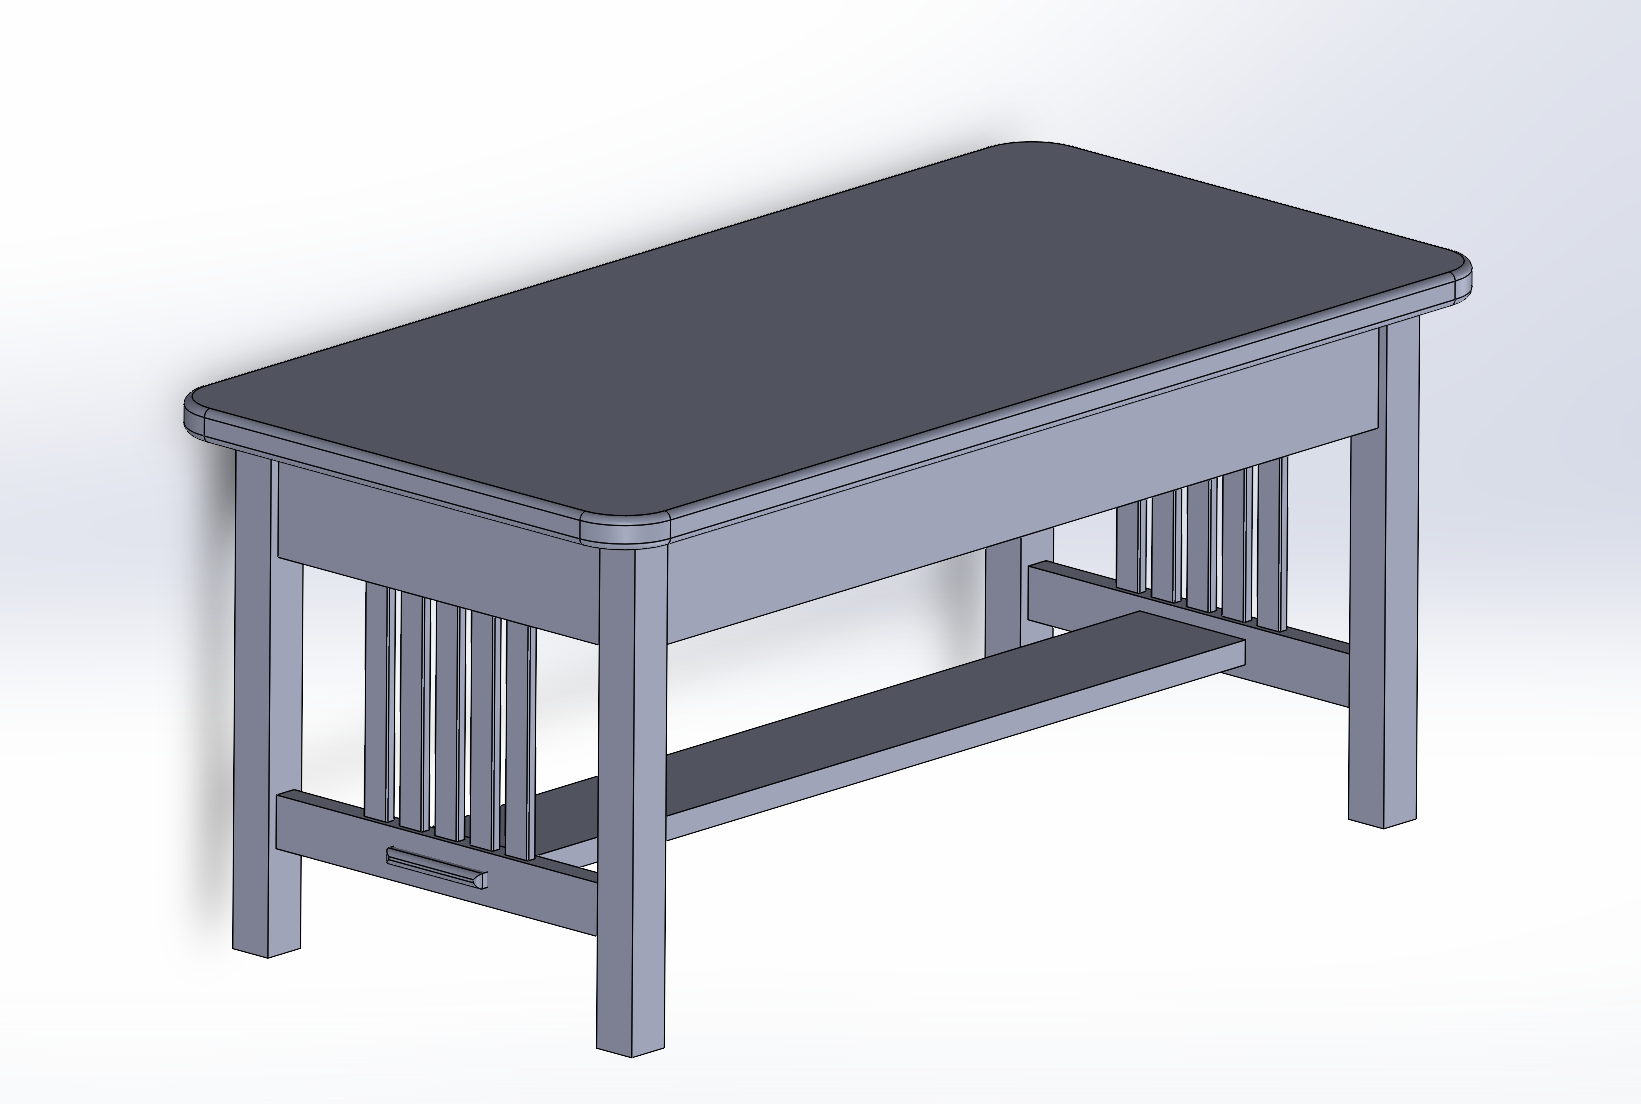
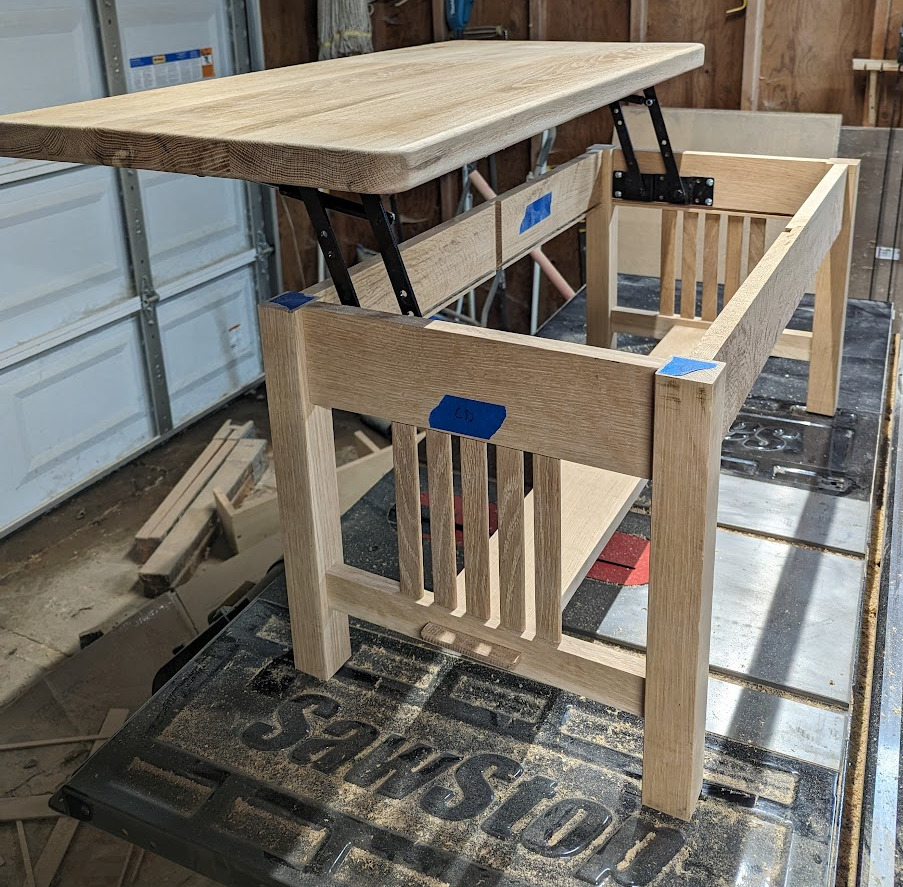
The other big feature I wanted was to have a lift top to make it more useful as a impromptu desk and give me a space to store remotes, coasters, video game controllers, ect. This turned out to be a big challenge because while there are plenty of easily sourceable lift mechanisms, they required a significant amount of vertical space to operate. I really didn’t like the look of the table if the top apron section became any thicker so I actually stole 1/2” from the bottom of the tabletop by routing a pocket for the mechanism to be slightly inset. I’m very happy with the final proportions. Here is a link to my shop drawings.. The pocket isn’t marked but was necessary with my lift mechanism.
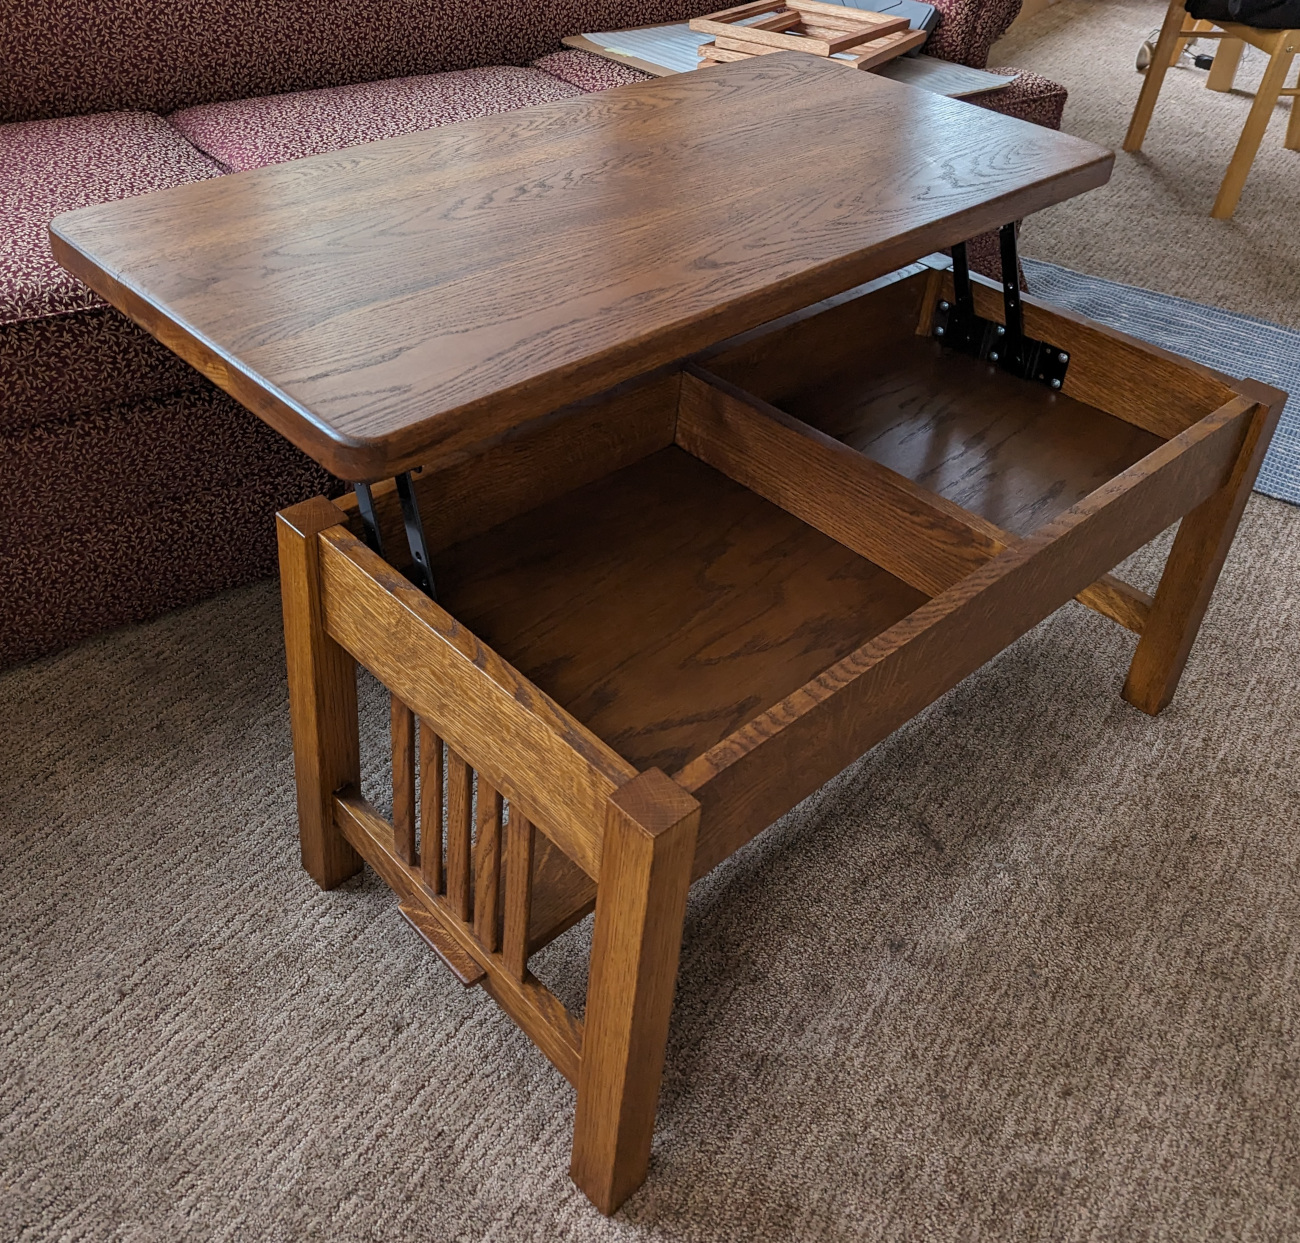
I went fully our with the wood I used. This table is completely white oak. All of it solid except the bottom of the compartment which is 1/4” white oak plywood. The legs are riftsawn, the top is flatsawn but the rest is all quatersawn with some really nice figure.
The other big change is that I went with a more complex finishing process. The traditional finishing technique for Mission style furniture involved a process called Ammonia fuming. This process required exposing the white oak to industrial grade ammonium hydroxide (26% vs 7% for household ammonia). I guess there are still some maniacs out there that use this process, but I came across a really excellent finishing process which uses a water based dye, a sealer, a darker gel dye, then a clear finish. It takes quite a bit of time and patiences but it turned out great for me.
